Crafting Little League Memories: DIY Projects for Trading Pins

August 27, 2024
custom trading pins

Trading pins are a big part of the Little League experience, and what better way to make them extra special than by getting creative with some DIY projects? These activities provide a fantastic opportunity to bond with your child and allow you both to put a personal touch on your pin collection. 

Whether you’re designing your team’s next pin or crafting a display for them, these DIY projects are sure to be a hit!
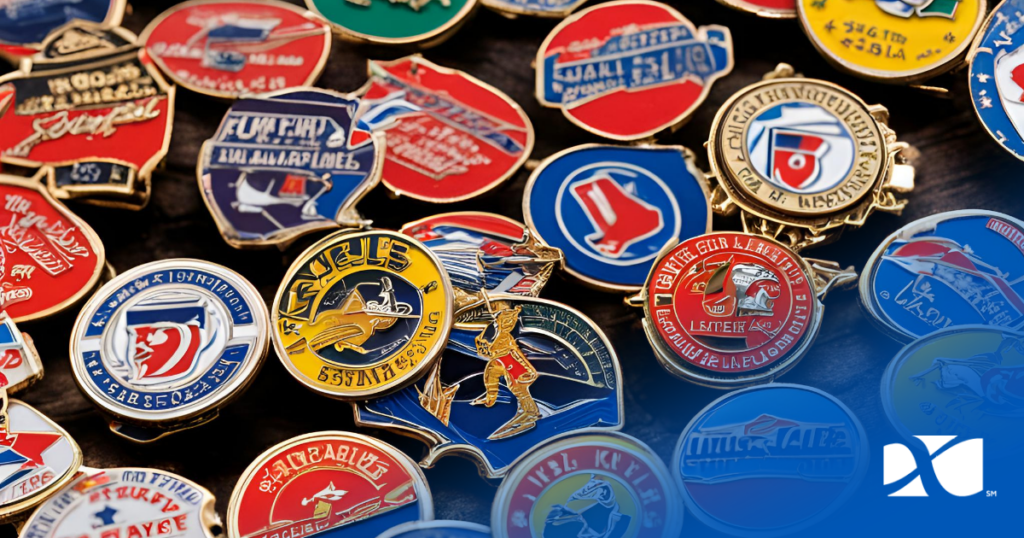
DIY Trading Pins Designs

 little league trading pins
  1. Select the Theme
    The first step in creating your custom trading pins is to decide on a theme. The possibilities are endless! 

Does your team have a mascot? Perhaps your town is known for something special, like a landmark or local legend. Maybe you want to reflect the sport itself—baseball bats, balls, and gloves can all make great starting points for your design. 

The theme will set the tone for your pin and help guide your other design decisions.

  1. Determine Important Details
    Once you’ve settled on a theme, it’s time to dive into the specifics. Think about the size and shape of the pin—do you want something traditional, like a round or square pin, or something more unique? 

Consider adding fun details like spinners, danglers, or glitter to make your pins stand out. 

Color is another crucial aspect. Your team’s colors are a natural choice, but don’t be afraid to experiment with complementary shades to make your design pop. The goal is to create a pin that not only represents your team but also catches the eye of other collectors.

  1. Have Fun Designing with the Team
kids making diy pin trading designs

Designing trading pins can be a fantastic team-building activity. Get all the team members involved by having them draw out or describe their ideas for the new team pin. You can host a little art session where everyone gets to contribute. 

This not only makes the final product more meaningful but also ensures that every player feels a part of the process. Plus, it’s a lot of fun! 

Once you’ve gathered everyone’s ideas, you can either combine elements from different designs or vote on the favorite. Don’t forget to take pictures of the brainstorming session to document the experience!

  1. Submit Your Idea
    After you’ve finalized your design, it’s time to make it a reality. You can submit your design to us online or give us a call. We’ll guide you through the process, ensuring that your vision comes to life in the form of a beautiful, high-quality trading pin. 

This is the moment when all your hard work and creativity pay off, and you’ll soon be holding a pin that’s uniquely yours.
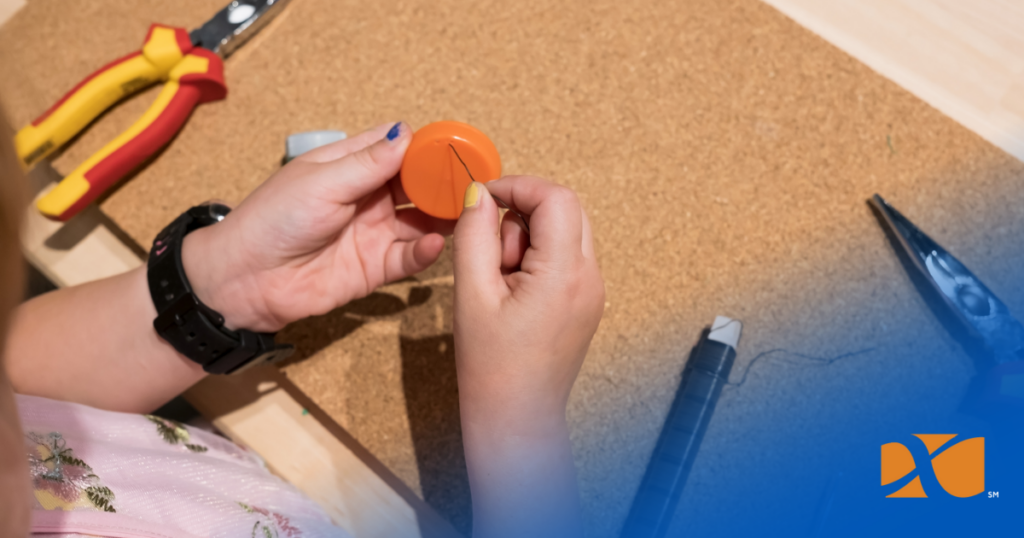
DIY Trading Pin Boards

diy pin board

Cork Pin Board
Now that you have your trading pins, you’ll want a special place to display them. A DIY trading pinboard is a fantastic way to showcase your collection. 

  1. Start with a roll of cork, which you can easily find at any craft store. 
  2. Outline the shape of the board your child wants on the cork—this could be anything from a simple rectangle to a more elaborate shape like a baseball or your team’s logo. 
  3. Use craft scissors to cut out the shape, and then add some trim for a bit of flair.
  4. To give your board some stability, glue it to a piece of heavy-duty cardboard or similar material. This will ensure it’s sturdy enough to hold all your pins without bending or collapsing. 
  5. Once the glue has dried, the fun begins! Your child can add decorative details like paint, stickers, or even glitter to make the board their own. 
  6. When it’s ready, start placing the pins on the board, arranging them in whatever pattern or order your child prefers.

Canvas & Burlap Pin Board
Another option for displaying your pins is a canvas and burlap board. This method gives a more rustic, textured look that can be a great match for a sporty theme. 

  1. Start by selecting a canvas that’s the right size for your collection. 
  2. Then, grab a roll of burlap and cut it out to fit the front of the canvas, making sure there’s enough to wrap around the sides. 
  3. Apply craft glue to the canvas and place the burlap on top, smoothing it out as you go to avoid any wrinkles or bubbles.
  4. Once the burlap is securely in place, let it dry completely. 
  5. After it’s dry, you and your child can get creative with the decorations. 
  6. Add some paint, attach letters to spell out the team’s name, or stick on some fun embellishments. 
  7. The final step is to start pinning! The texture of the burlap makes it easy to attach and remove pins, so your child can rearrange their collection as often as they like.

DIY Trading Pin Binders/Books

  1. Select a Binder
    If you’re looking for a portable way to keep track of your pins, a trading pin binder or book is the way to go. Start by selecting a binder. We recommend one with a zipper closure to ensure that if a pin falls off the sheet, it won’t get lost. 

Next, purchase some sheets of craft foam, which will serve as the backing for your pins. The foam is sturdy enough to hold the pins securely without tearing. 

  1. Punch Holes and Decorate
    Once you have your binder and foam sheets, punch holes in the foam so they fit into the binder rings. 

After that, it’s time to decorate! This is where you can really let your imagination run wild. Add glitter, stickers, or even fabric patches to personalize the binder. Your child might want to decorate it with their name, team name, or anything else that makes it uniquely theirs.

  1. Attach Trading Pins
    After the decorating is done, start attaching the trading pins to the foam sheets. This method is great because it allows you to organize your pins by year, team, or any other system you prefer. Plus, the binder format makes it easy to add new pins as your collection grows. It’s also a great way to transport your pins to events or trading sessions without worrying about losing them.
parents and child designing custom trading pins

DIY projects like these are not just about crafting something cool—they’re about creating lasting memories with your little leaguer. Whether you’re designing pins, making a display board, or putting together a pin binder, the time spent together is what matters most. 

And when you’re ready to bring your custom trading pin design to life, don’t forget to contact Infiniti Pins to get started. Here’s to making memories and celebrating the love of the game!

CONTACT US

7500 Energy Court 
Suite 5 
Curtis Bay, Maryland 21226
443-240-7750